
How to Start a Blog in 2024?
If you are planning to enter the Blogging field, if you’re looking for an easy and step-by-step guide to learning how to start a blog and make money from it, then you’ve come to the right place. I’ve been blogging for 6+ years and I’m here to show you the most simple way to get started.
In this article, we will discuss about how to start a blog to make money. But our intention is not just to make money, but rather to build a brand that make at least $1000 per month from blogging.
To build our brand we have to provide valuable contents to our visitors or readers.
Blogging is a very easy method to establish yourself over the internet and also earn some pocket money. Some bloggers do it for time passes, some for hobb,ies and some to get achieve a goal. What’s your intention to start a book is very necessary. Because it is not so simple to maintain a blog so many new bloggers left it in the middle.
Before starting a blog be sure about your own thoughts. Because success can not be gained overnight.
What is Blogging? Or What is a Blog?
A blog is a collection of web pages (posts) related to a niche. A writer can write a post on his blog on a specific topic to make it elaborate and understandable for the reader. A blog is a website on a specific topic i.e. technology, education, blogging, news, food, etc.
How to Start a Blog?
To start a blog you need a Domain and Hosting. Here I am going to discuss the whole procedure of blogging from scratch.
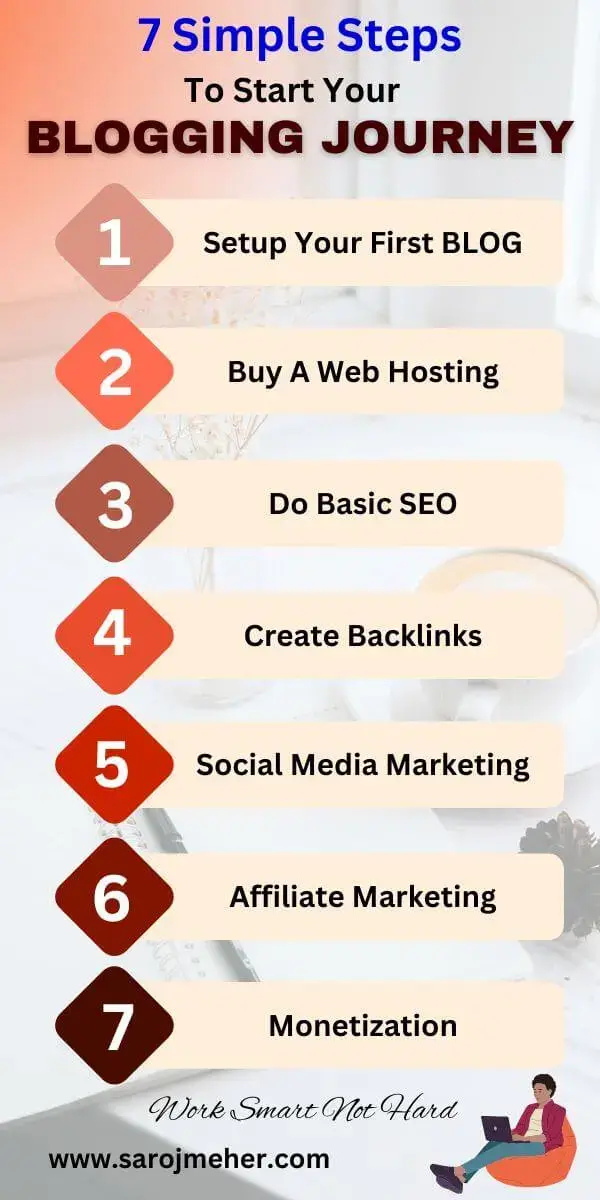
Step-by-Step Guide to Start a Blog
1. Choose a Name for your Blog and also pick out a Niche
Take time to choose a niche, because it goes long and you shouldn’t change it later. Try to pick the niche according to your choice, hobbies, background on which you will write for a long time.
What is a niche in blogging?
A niche is a specific topic or category you are going to write about.
List of Blog Niches: – Each Niche contains many Sub-Niches also.
- Lifestyle
- Art
- Food
- Travell
- Blogging
- News
- Entertainment
- Education
- Business & Finance
- Digital Marketing
- Affiliate Marketing
- Email Marketing
- Tech
- Science
- Product Review
- Health & Fitness
- Job
3. Choose a DOMAIN Name
The name for the blog must be specific and well determine. It should be easy to pronounce and remember. It would be best practice to contain the niche keywords in the domain name. For example, if you are to create a News blog then you can use “news” word in the domain name like – www[.]news[.]com.
Choose a Domain which reflects your Brand Name of your Business.
5 Points to Consider before choosing a domain
Before finding a new domain name, we need to consider a few things that will help us in the long run or build a domain for a big attractive brand that represents the entire company in one word.
So, let’s start with some important points …
It should be catchy and easily memorable – Millions of domain names are registered, so you have a domain that is attractive and memorable. Once you come up with a name, share it with close friends to make sure it sounds attractive and makes sense to others.
Try Keep to it short: Short names are always attractive and look good and attractive for brands like Oyo, Apple, Mi. If your domain name is long and complex, you run the risk of misspelling by customers. The shortest and easiest way is to leave.
Domain Name should be Easy to type – Finding a domain name that is easy to type is the key to online success, your domain should be simple and easy to type, which will help you drive direct search engine traffic and brand building.
Use Keywords in the Domain name – Try to use keywords that describe your business and the services you offer. You should try to fit your keywords with a catchy name that visitors can easily see. Such as Book[.]com, oyorooms[.]com, namecheap[.]com. Here, only one domain name describes your business and services offered.
Avoid using any hyphen or number on Domain – Numbers and hyphens are often misunderstood – People who listen to your website address don’t know if you’re using a digit (7) or typing (intake) or whether they use hyphens Forgets. If you need numbers and hyphens in your domain, you can use the various changes in your domain and register them to be safe.
How to choose a domain extension option?
A domain extension is a part that comes with a domain name after the last period. For example, on Facebook[.]com, the word “Facebook” is the domain name and “.com” is the domain extension. These two are clearly interlinked and should not be considered separate.
You can purchase domain names from the domain registrars and hosting providers. You can search your desire domain name there. They will provide you a list of domain with different extensions. Always prefer .com domain. If .com domain is not available the you can go with other extensions.
Consider to Choose the right domain extension
In order to choose domain extensions among different varieties of extensions like .com, .net, .edu, .in, etc. we have to consider a few things.
Destination Location – Your domain extension says a lot about where you are. You can ensure that you get location-specific domain extensions to represent the world, such as “.in” for India, “.au” for Australia, “.ca” for Canada, UK. For “UK.” These domain extensions are only available if you provide location-specific information to the domain registrar.
Think about where you are and if you intend to have a local, country-specific or global website. Based on that decision, you will be able to choose the appropriate domain extension for your website.
Purpose of your website: Are you looking for a domain name and extension for a business, blog, non-profit organization, hospital, educational institution, or government agency?
Depending on the purpose of your website, you can choose a domain extension that more accurately reflects who you are and what you do. The “.Edu” extension is appropriate for a university or school, and the “.gov” extension is appropriate for a government organization. Most extensions speak clearly for their purpose.
If you choose the wrong extension, the purpose of the website can sometimes be confusing for visitors and your brand may be misinterpreted. For example, if you choose the “.com” extension for a public library, visitors may think that it is a private company or something like that. This is why you need to choose extensions carefully, determine how people will view your brand.
Budget for a Domain: Some domain names are more expensive than others. In general, the value of domain names will depend on the demand for them as well as their expected value in the future. For example, a domain “www.sarojmeher.com” would be more expensive than a domain like “sarojmeher.xyz”. This is simply because the “.com” domain name is used more often and is easily recognized by people.
You should choose a domain extension always that fits your budget well. As long as you have it for investment purposes, we do not recommend overspending on a domain extension.
2. Choose a Hosting (Reliable and Fast)
We have already discussed different types of web hosting in our previous article. You may refer to our best cheap web hosting guide so that you can easily differentiate them. There are two types of Hosting on the basis of charging money, those are
- Free Hosting
- Paid Hosting
Free Hosting is Free for a lifetime with some lacks, but in Paid Hosting you will get full freedom with full support. There are some Hosting companies that provide free hostings like Blogger and WordPress. WordPress provides free hosting with some limitations like you can’t connect your domain in their free plan, whereas Blogger provides free hosting with an option to attach your domain name for free. Besides these, there are also some best Hosting companies who are best known for their fast and reliable hosting. There will be a specific topic on this.
If you want to test yourself, I would recommend you to go to the free Hosting that is provided by Google i.e. Blogger. When you get some traffic you can move to WordPress easily.
But if you want to start a professional career in the blogging field, I suggest you to start a blog with Paid Hosting ( like Hostinger, BlueHost, SiteGround, Digital Ocean, CloudWays, etc.). They are reliable and fast and they can handle millions of traffic.
Most of the new bloggers make mistakes here. Never go with cheap hosting.
3. Blog Designing ( Choose a Best Responsive Theme)
Blog designing is the most essential for your success. It is the look of your blog for the visitors. So it should be clean and well arranged. The first impression is the last impression. There are so many free and premium themes both in Blogger and WordPress that help you in this matter. One thing you should remember before choosing any theme is that it must be fully responsive so that it can open well in Desktop, Mobile as well as Tablet.
4. Write your First Post
Now its time to write your first post and go live. But before writing a post the should be some points to consider. Those are –
- Research on the topic that you are going to write about.
- Split that information into different small paragraphs with proper heading for easy reading.
- Don’t and never copy works of others, which create problems of Plagiarism later.
- You can use pictures or images inside your post for better looks.
5. Promote your Blog
After publishing your post its time to get some free traffic. I recommend you to share your post on social media like Facebook, Twitter, Instagram, Pinterest, Linkedin, Whatsapp etc. with your friends. It will help your blog to get some initial traffic. Social Media is best for the promotion of your blog for free, but effectively.
6. Earn from your Blog
Earning from your blog is the final step. When you complete the above steps, keep patience for at least six months to get your website ranked on search engines like Google, Bing, Yahoo, Yandex, etc. When you are getting a significant amount of traffic on daily basis, Now it’s time to monetize your blog with Best Ad Networks (like Google AdSense) and Affiliate Networks (like Amazon and Flipkart Affiliate Porgram).
How to Start a Blog for FREE
The best way to start a blow of your own purpose is to go with Blogger. It is 100% safe and secure and fast.
The Full Process TO START A BLOG FOR FREE ON BLOGGER
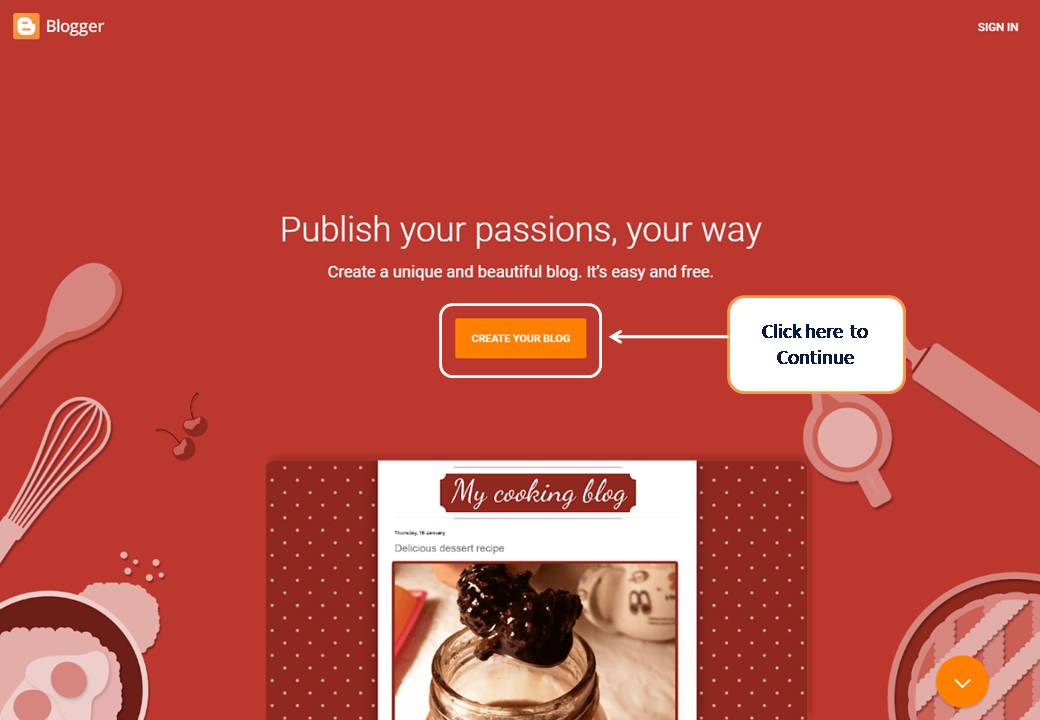
1. Go to Blogger.com
When you click on the “CREATE YOUR BLOG”, you will redirect to a new page where you have to sign in with your google account.
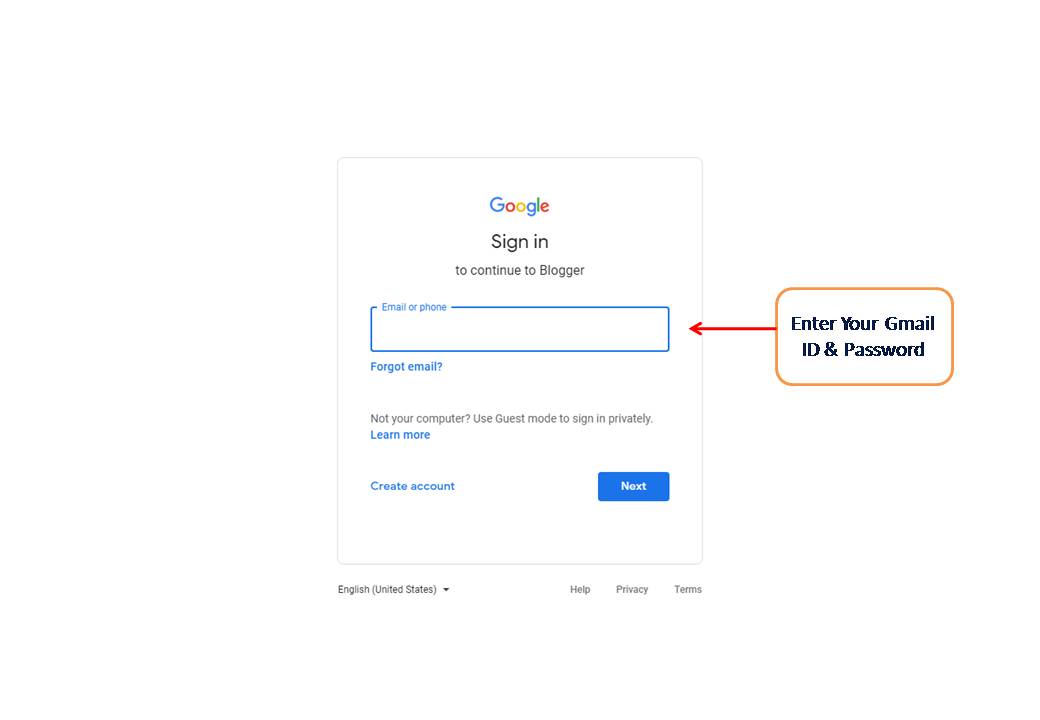
2. Here you simply sign in with your existing Gmail account or you can create a new Gmail account to proceed.
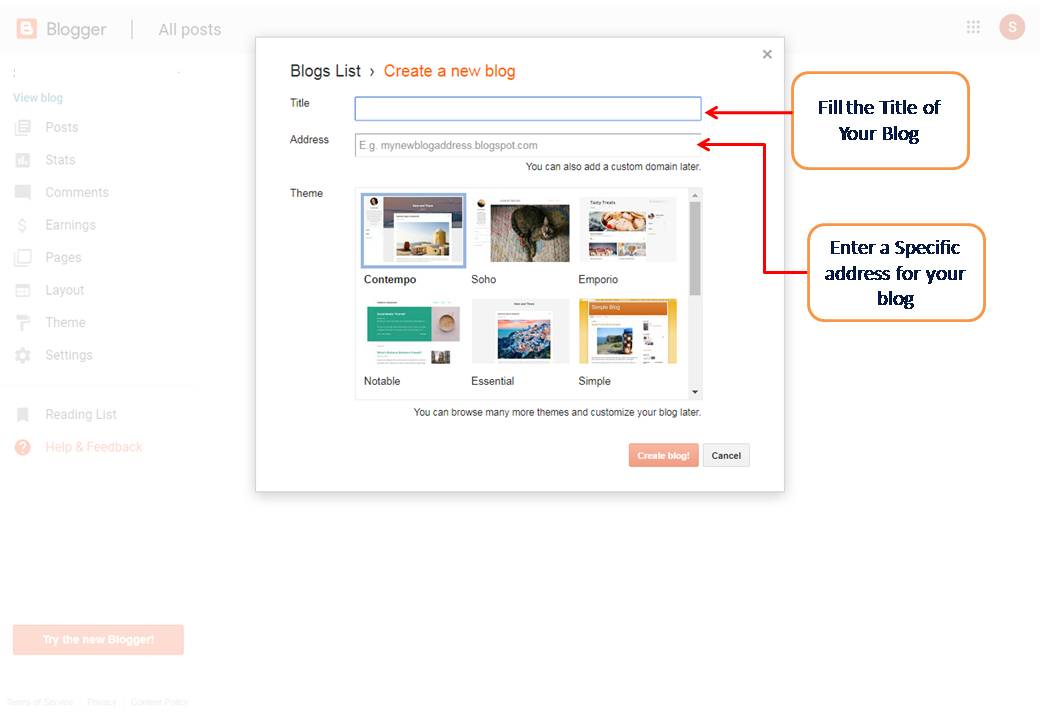
3. On the next screen you just see as below, you will be asked to create a new blog. Here first you have to put Title of your blog and then choose a unique address for your blog. Your blog address looks like – xxxxxxx.blogspot.com. Later you can change it also.
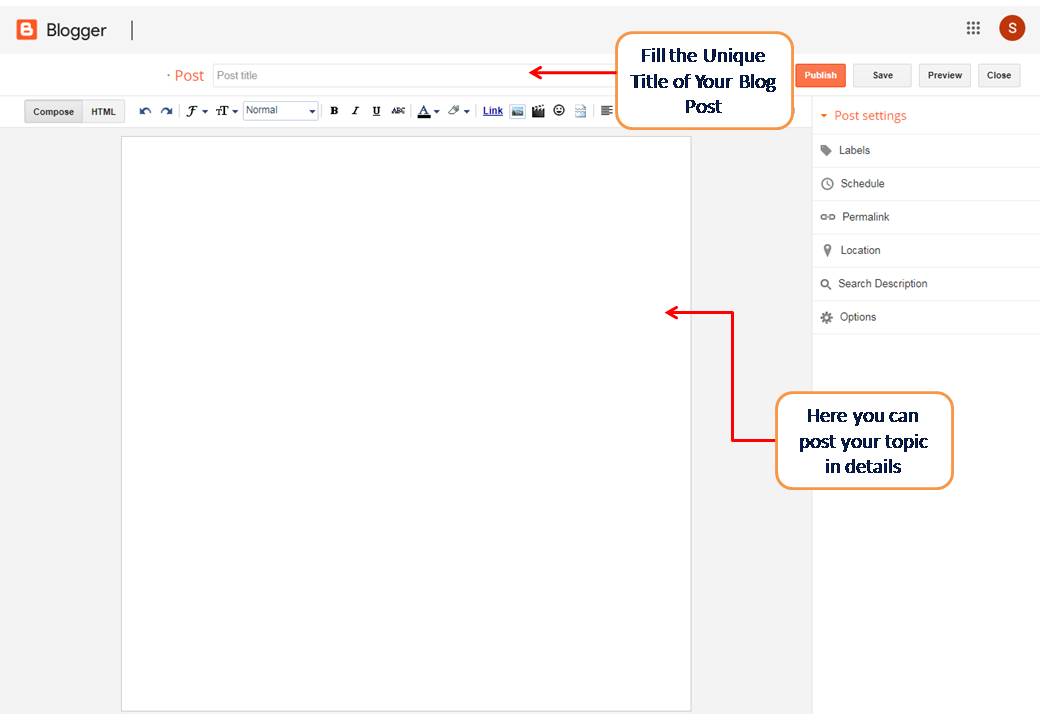
4. After creating your blog, now go to “Posts” Tab on the left to create a new post. As below the image, you have to write an SEO friendly Post Title and your topic on the given space.
Here you can found some Tabs on the right. Those are for —
- Labels – To add some labels or categories for your post. This is very helpful for your Post SEO.
- Schedule – You can post your post immediately or after some time here.
- Permalinks – This is another important thing. It helps in ranking. Here you found two options – Automatic or Manual. I advise you to go for the manual and add a good SEO-friendly short permalink with some keywords.
- Location – Here you can put your location information.
- Search Description – This is another most important thing. Here you can write a meta description for your post which will show in Search engines,
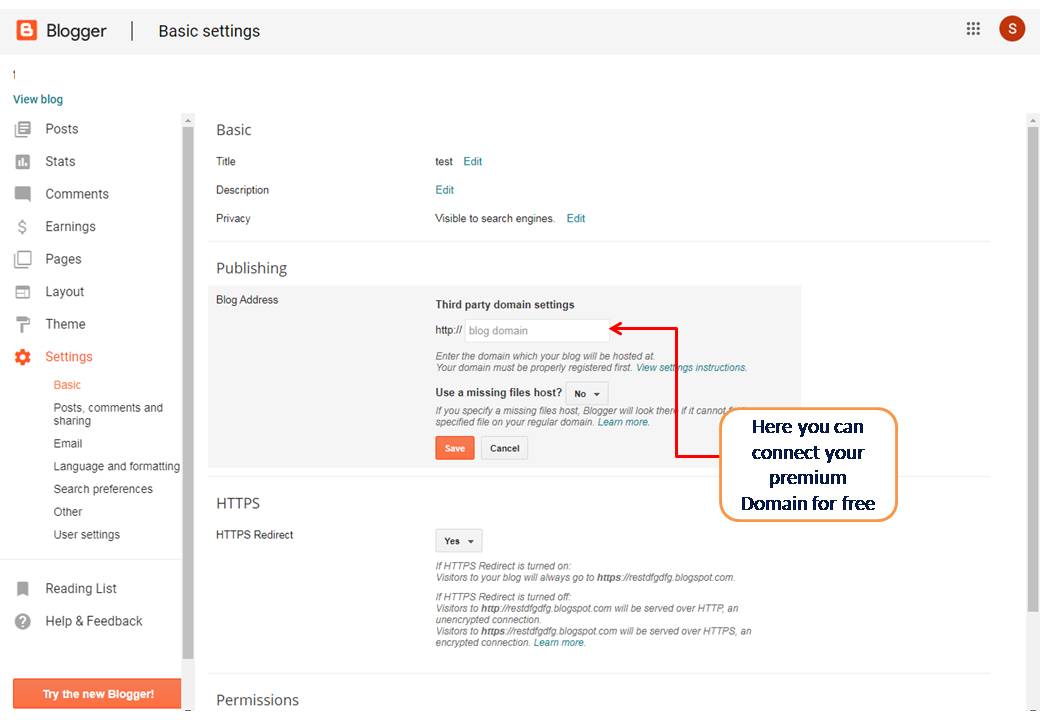
5. Change your Domain. If you like you can go with the default subdomain. But I prefer to go with a Domain like www.sarojmeher.com. This is necessary for establishing a brand online. To connect your domain –
Go to “Settings”
Add a Third-party Domain. You will be given some instructions to proceed.
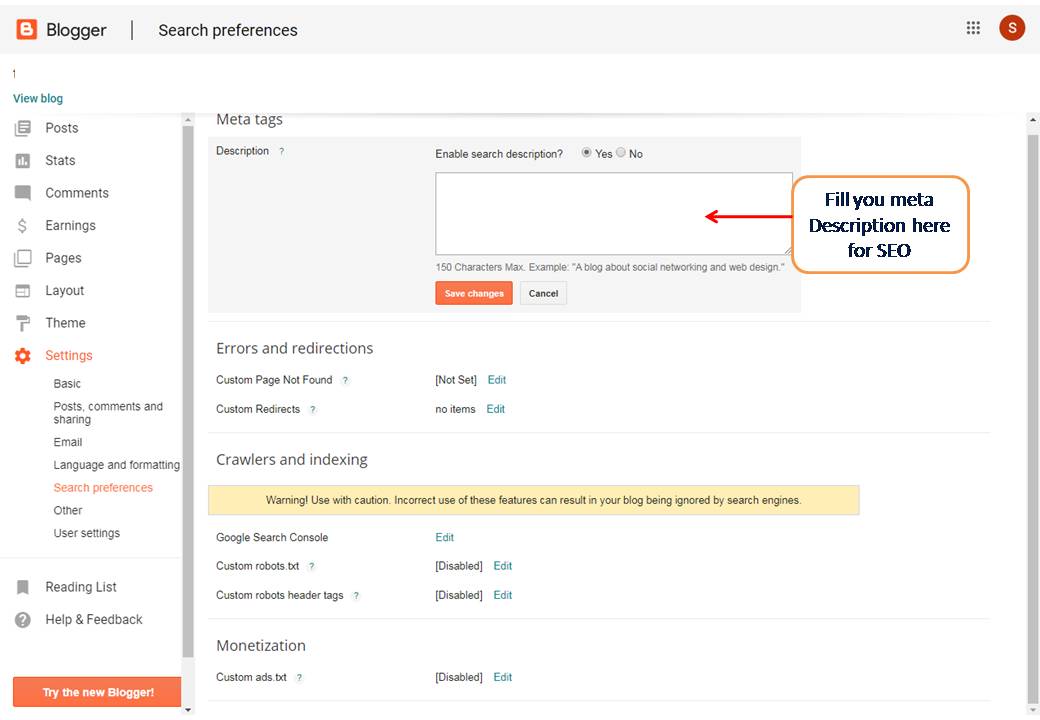
6. Meta Tags – It is most important for your ranking. Go to “Settings” and then “Search Preferences”.
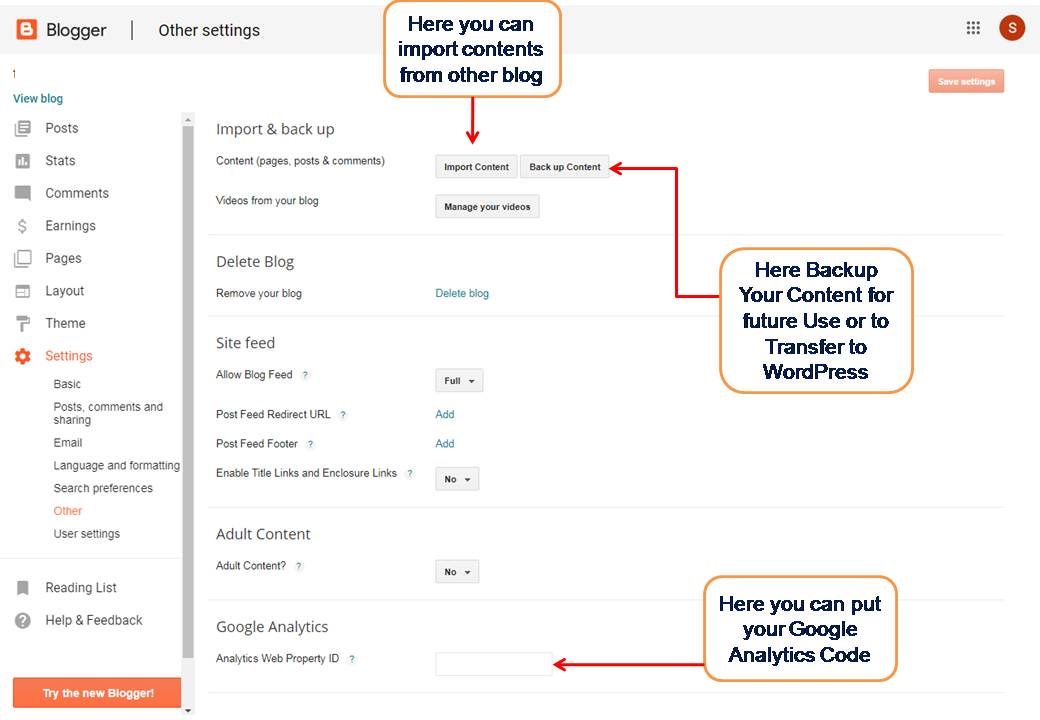
7. Backup – For security reason you should take a backup of your website content preodically. Follow the instructions below.
How to add Google AdSense to Blogger
Getting Adsense is no so much hard, if you are genuinely working on your blog. Google always promote good content. Before apply for AdSense make sure to fill the following ☑ checklist.
- Publish atleast 10 to 15 good length unique articles on you blog.
- Make important pages i.e. About Us, Contact Us, Privacy Policy, and Disclaimer page.
- Proper Navigation on your Homepage as well as other pages.
- You should use copyright images on your blog. You can get it from Pixabay.com
Connect AdSense to Blogger
On left column you will see the Earning Tab. Click on that and Apply for AdSense there.
Start A Professional Blogging Career
How to Start a Blog with WordPress?
As you know Nothing is FREE in this world. In this Blogging field also, FREE should be avoided for a better future. For better SEO you should go with Paid Good Hosting with WordPress.
Choose a Hosting Plan is simple with little tricks. Here I would like to refer to Bluehost or Hostinger for shared hosting and Cloudways for cloud hosting. You may choose anyone as per your budget and need. For beginners, Hostinger is best, as it is easy to set up your WordPress there. Their cPanel interface is quite simple and user-friendly.
Start a blog in WordPress (Quick Guide)
Starting a blog on WordPress is a simple and straightforward process. Here are the steps you need to follow to get started:
- Choose a domain name and web hosting service: Your domain name is the URL (e.g., www.sarojmeher.com) that visitors will use to access your site, and your web hosting service is the company that provides the servers and technology to host your site on the internet.
- Install WordPress: Once you have a domain name and web hosting service, you can install WordPress. Most web hosting services offer one-click WordPress installation, so this process is usually quick and easy.
- Choose a theme: WordPress has thousands of themes you can use to customize the look and feel of your site. You can find free themes in the WordPress theme repository, or you can purchase premium themes from various websites.
- Customize your site: Once you’ve chosen a theme, you can start customizing your site. This can include changing the colors, fonts, and layout, as well as adding your own logo and images.
- Create your first post: To create your first post, log in to the WordPress dashboard and go to the “Posts” section. From there, you can create a new post, add text, images, and other media, and publish your post.
- Install plugins: WordPress plugins are small pieces of software that add additional functionality to your site. There are plugins for everything from adding contact forms to improving your site’s SEO.
- Promote your blog: Once your site is up and running, you’ll want to promote it to attract visitors. This can include sharing your posts on social media, reaching out to other bloggers and websites in your niche, and using search engine optimization (SEO) to improve your site’s visibility in search engine results.
With these steps, you’ll have a fully functional WordPress blog up and running in no time.
Setup or Installing WordPress
On the cPanel of your hosting, you will see a Quick WordPress Installer or Softaculous Installer, etc. Just by selecting your domain and providing your Website name, you can install WordPress with a few clicks.
Setup or Installing WordPress on cPanel
Installing WordPress on cPanel is a fairly simple process that can be completed in a few steps. Here are the steps to follow:
- Log in to your cPanel account. You can do this by entering your login credentials on your hosting provider’s website or by accessing your cPanel account directly using the URL provided by your hosting provider.
- Once you are logged in to cPanel, navigate to the “Softaculous Apps Installer” section, usually located towards the bottom of the cPanel dashboard. Click on the WordPress icon.
- This will take you to the WordPress installation page. Click on the “Install Now” button to start the installation process.
- On the next page, you will need to enter some basic information about your website, such as the domain name, the directory where you want to install WordPress, and your site name and description. You will also need to create an admin username and password for your WordPress site.
- Entered all the necessary information i.e Admin Username, Admin Password, Email, and click on the “Install” button to start the installation process.
- Softaculous will now install WordPress on your server. This may take a few minutes to complete, depending on your server’s speed.
- Once the installation is complete, you will see a message indicating that WordPress has been installed successfully. You can now log in to your WordPress dashboard and start customizing your website.
That’s it! You have now successfully installed WordPress on your cPanel account.
Setup or Installing WordPress on Digital Ocean
- Create a DigitalOcean account if you don’t already have one.
- Create a new droplet by clicking the “Create” button in the top right corner of the DigitalOcean dashboard.
- Choose the “One-click apps” tab and select “WordPress” from the list of available options.
- Choose your droplet size, region, and other options as needed.
- Click the “Create” button at the bottom of the page to create your new droplet.
- Once your droplet is created, you will receive an email with your droplet’s IP address, username, and password.
- Open a terminal window and use SSH to connect to your droplet using the IP address, username, and password provided in the email.
- Once you’re logged in, run the following command to access the WordPress installation script:
sudo /opt/wordpress/wp-cli/bin/wp - Follow the prompts in the installation script to configure your WordPress site, including setting up a database, creating an admin account, and configuring your site settings.
- Once the installation script is complete, you should be able to access your new WordPress site by visiting your droplet’s IP address in a web browser.
That’s it! You should now have a fully functional WordPress site up and running on DigitalOcean.
FAQ on How To Start A Blog to Make Money
The one-stop answer is NO. But to start a blogging journey it is good, just to experience the whole process of blogging and know the difficulties as well as advantages.
It is up to you. The cost of a Blog depends on the platform you have chosen. If You choose a Free platform like Blogger, Medium, etc. then you don’t have to spend a penny for the whole process. But if you choose a good Hosting like Bluehost, Siteground, Cloudways, or Digital Ocean then it may be $3 to $10 monthly.
All you know is that nothing is free. If you want to start a professional career in Blogging then I suggest you to go with Paid Hosting with a Custom Domain related to your Niche. When your website ranked and get millions of traffic, reliable hosting will help you handle such traffic very easily.


